Follow these steps to go from a brand-new account to your first NPC conversation.
In-app setup
1
Create a game
Sign in at
app.npcbuilder.com and click Add new project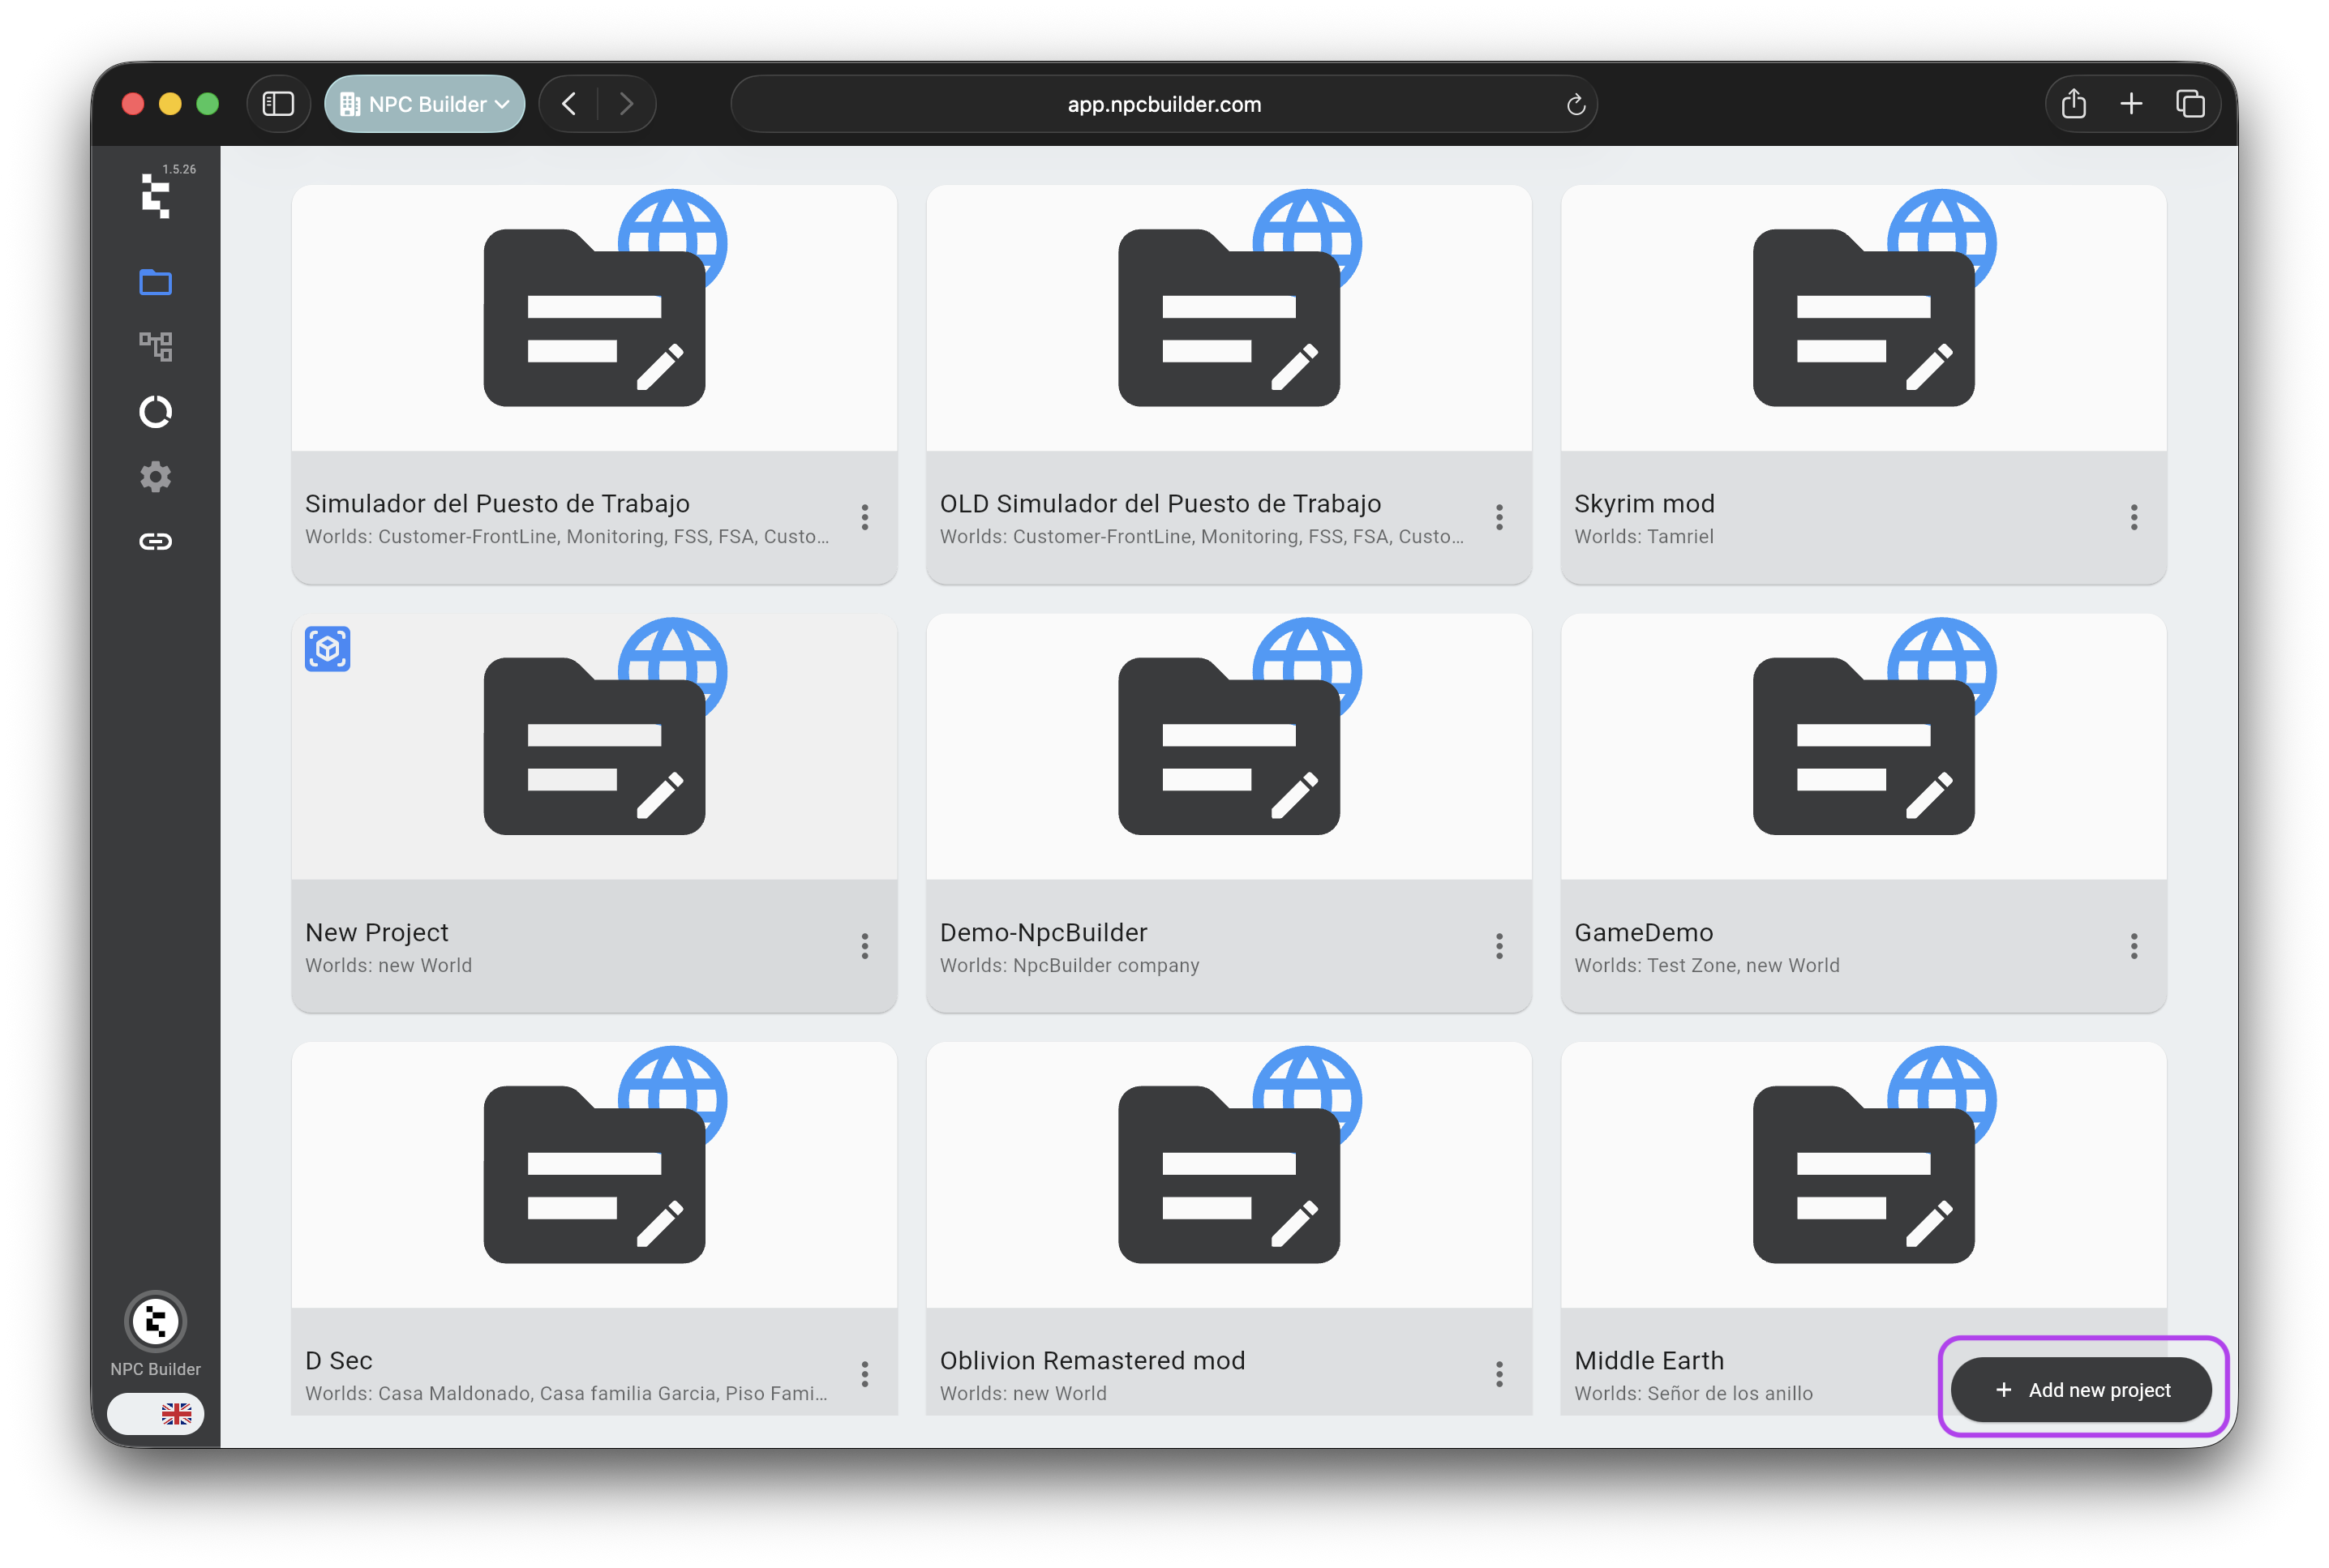
GAME_ID2
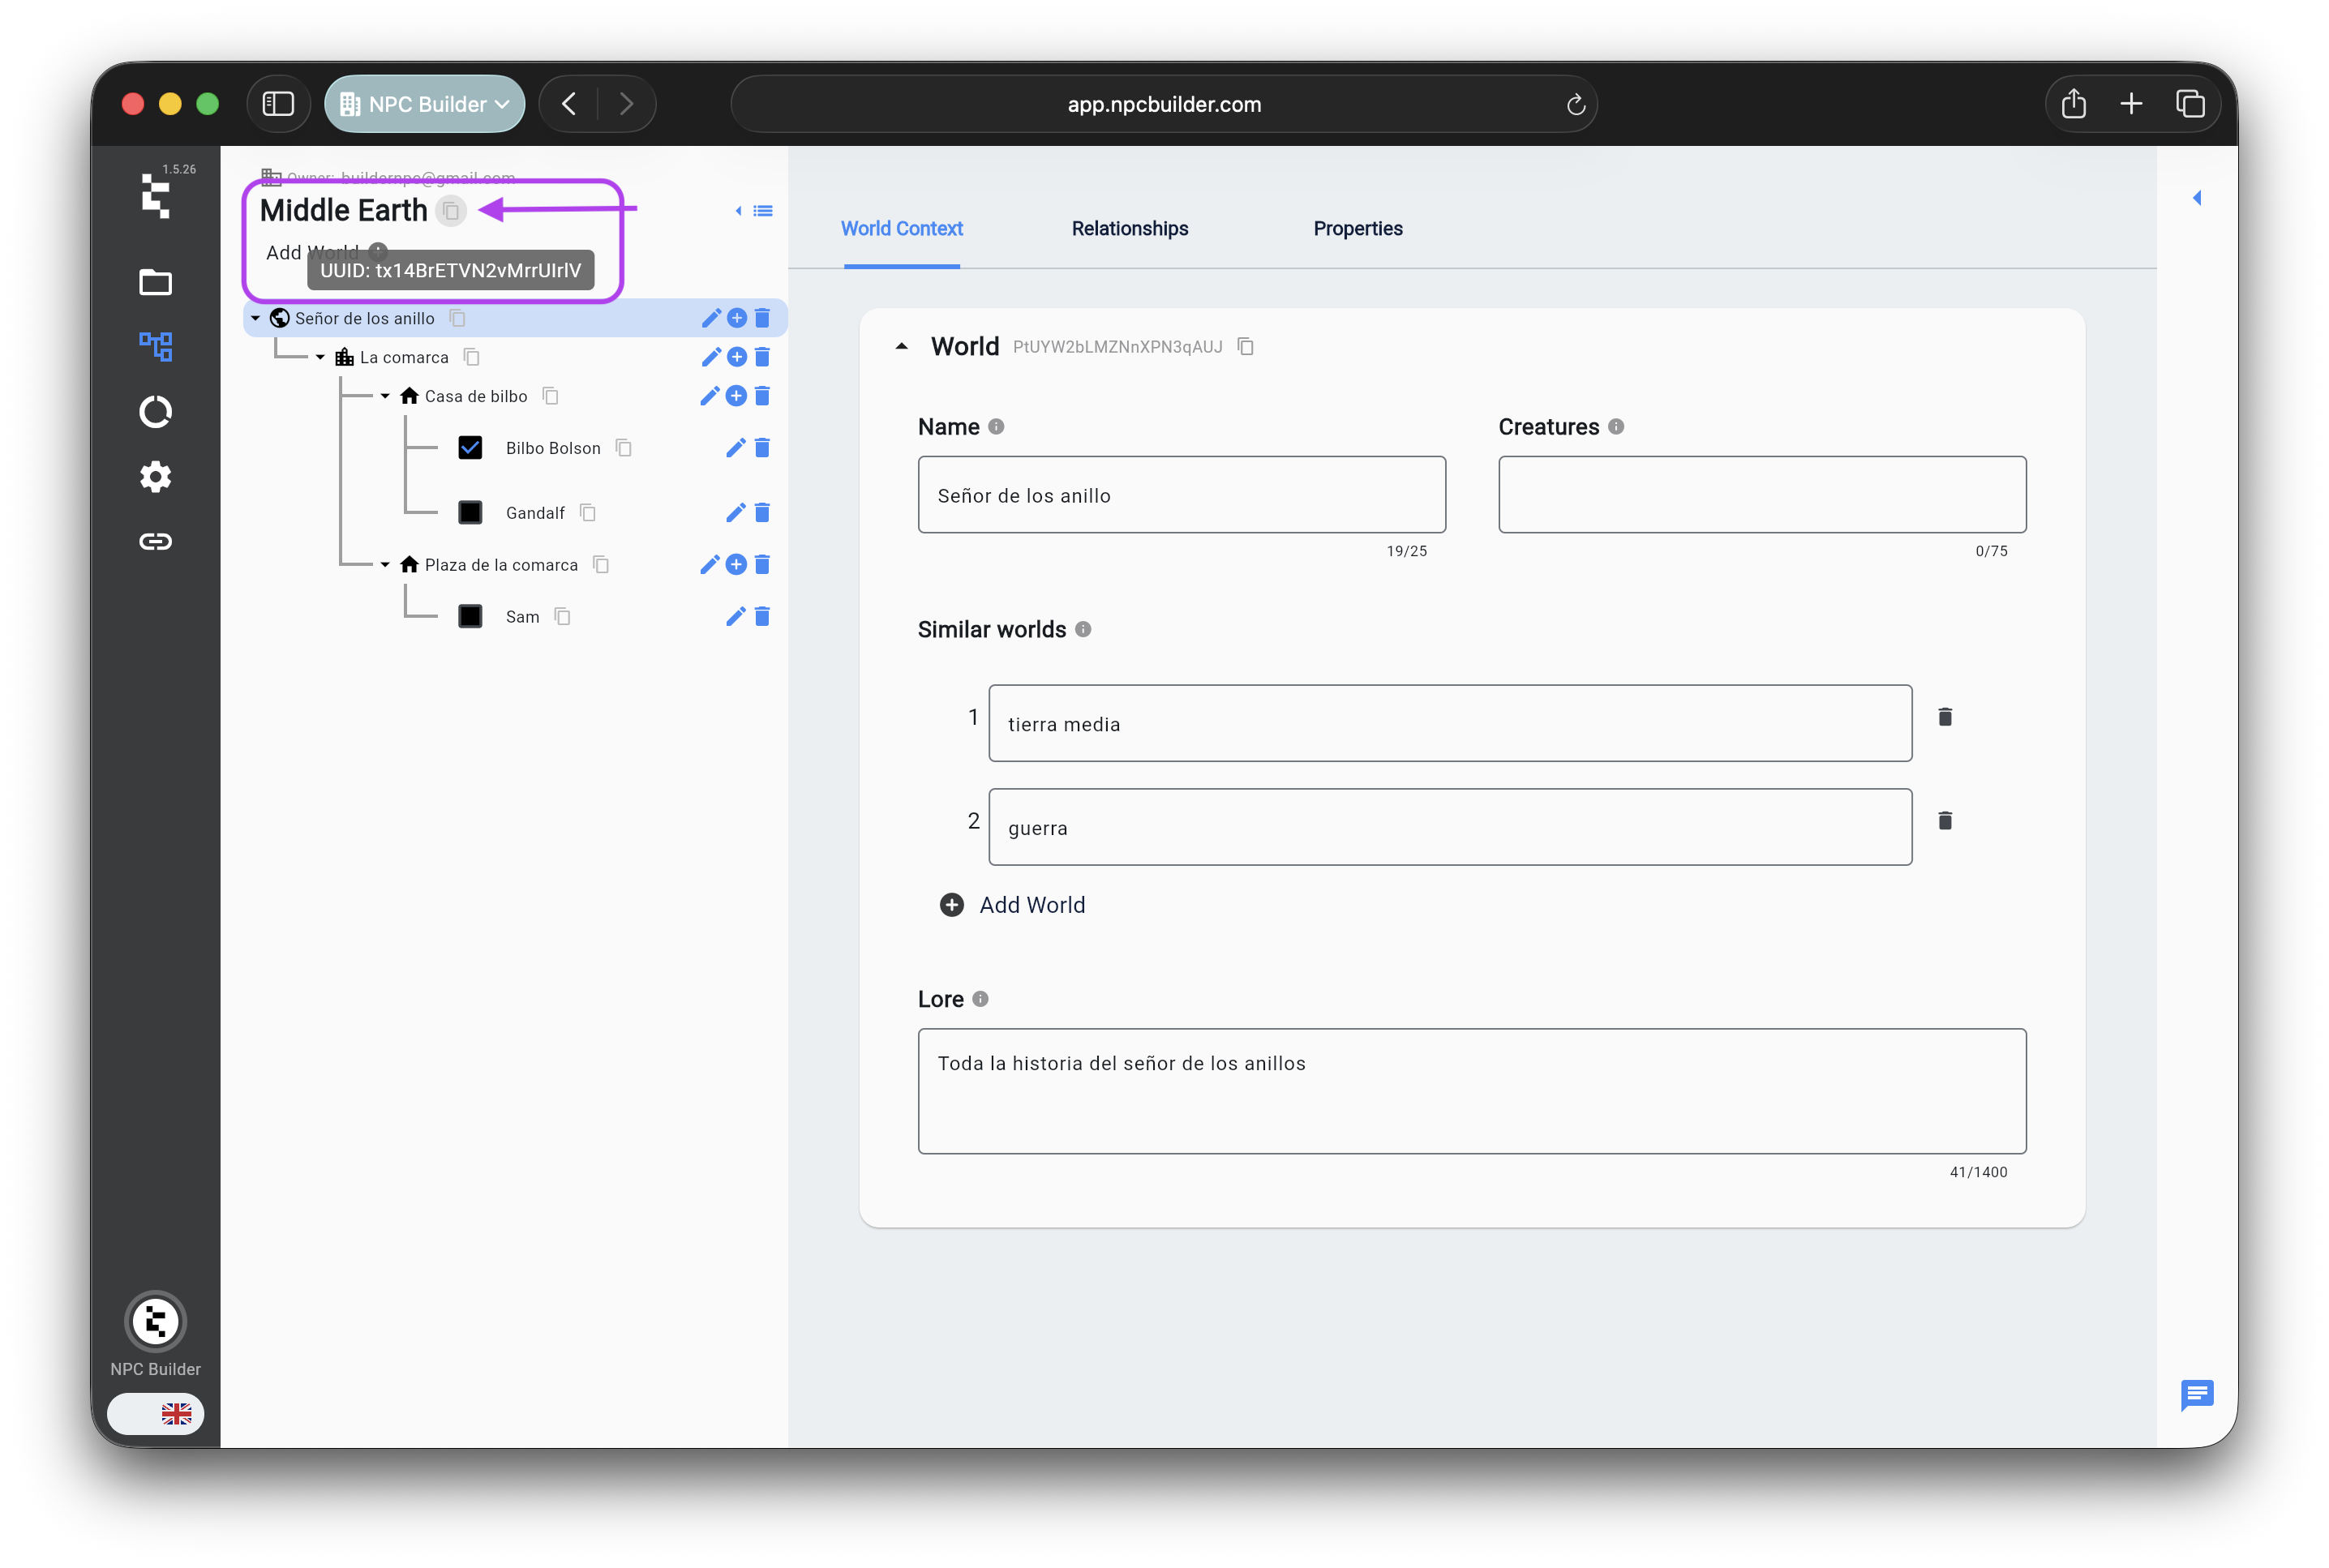
Add a world
Inside the game, click Add World; fill name and lore.
Copy the
Copy the
WORLD_ID.3
Add region & location
Open your world → Add Region(e.g. “Northern Kingdom”) →
inside that region, Add Location(e.g. “Capital City”).
inside that region, Add Location(e.g. “Capital City”).
4
Create a character
In the location, click Add Character→ fill name, description, role, traits, etc.
Save; note the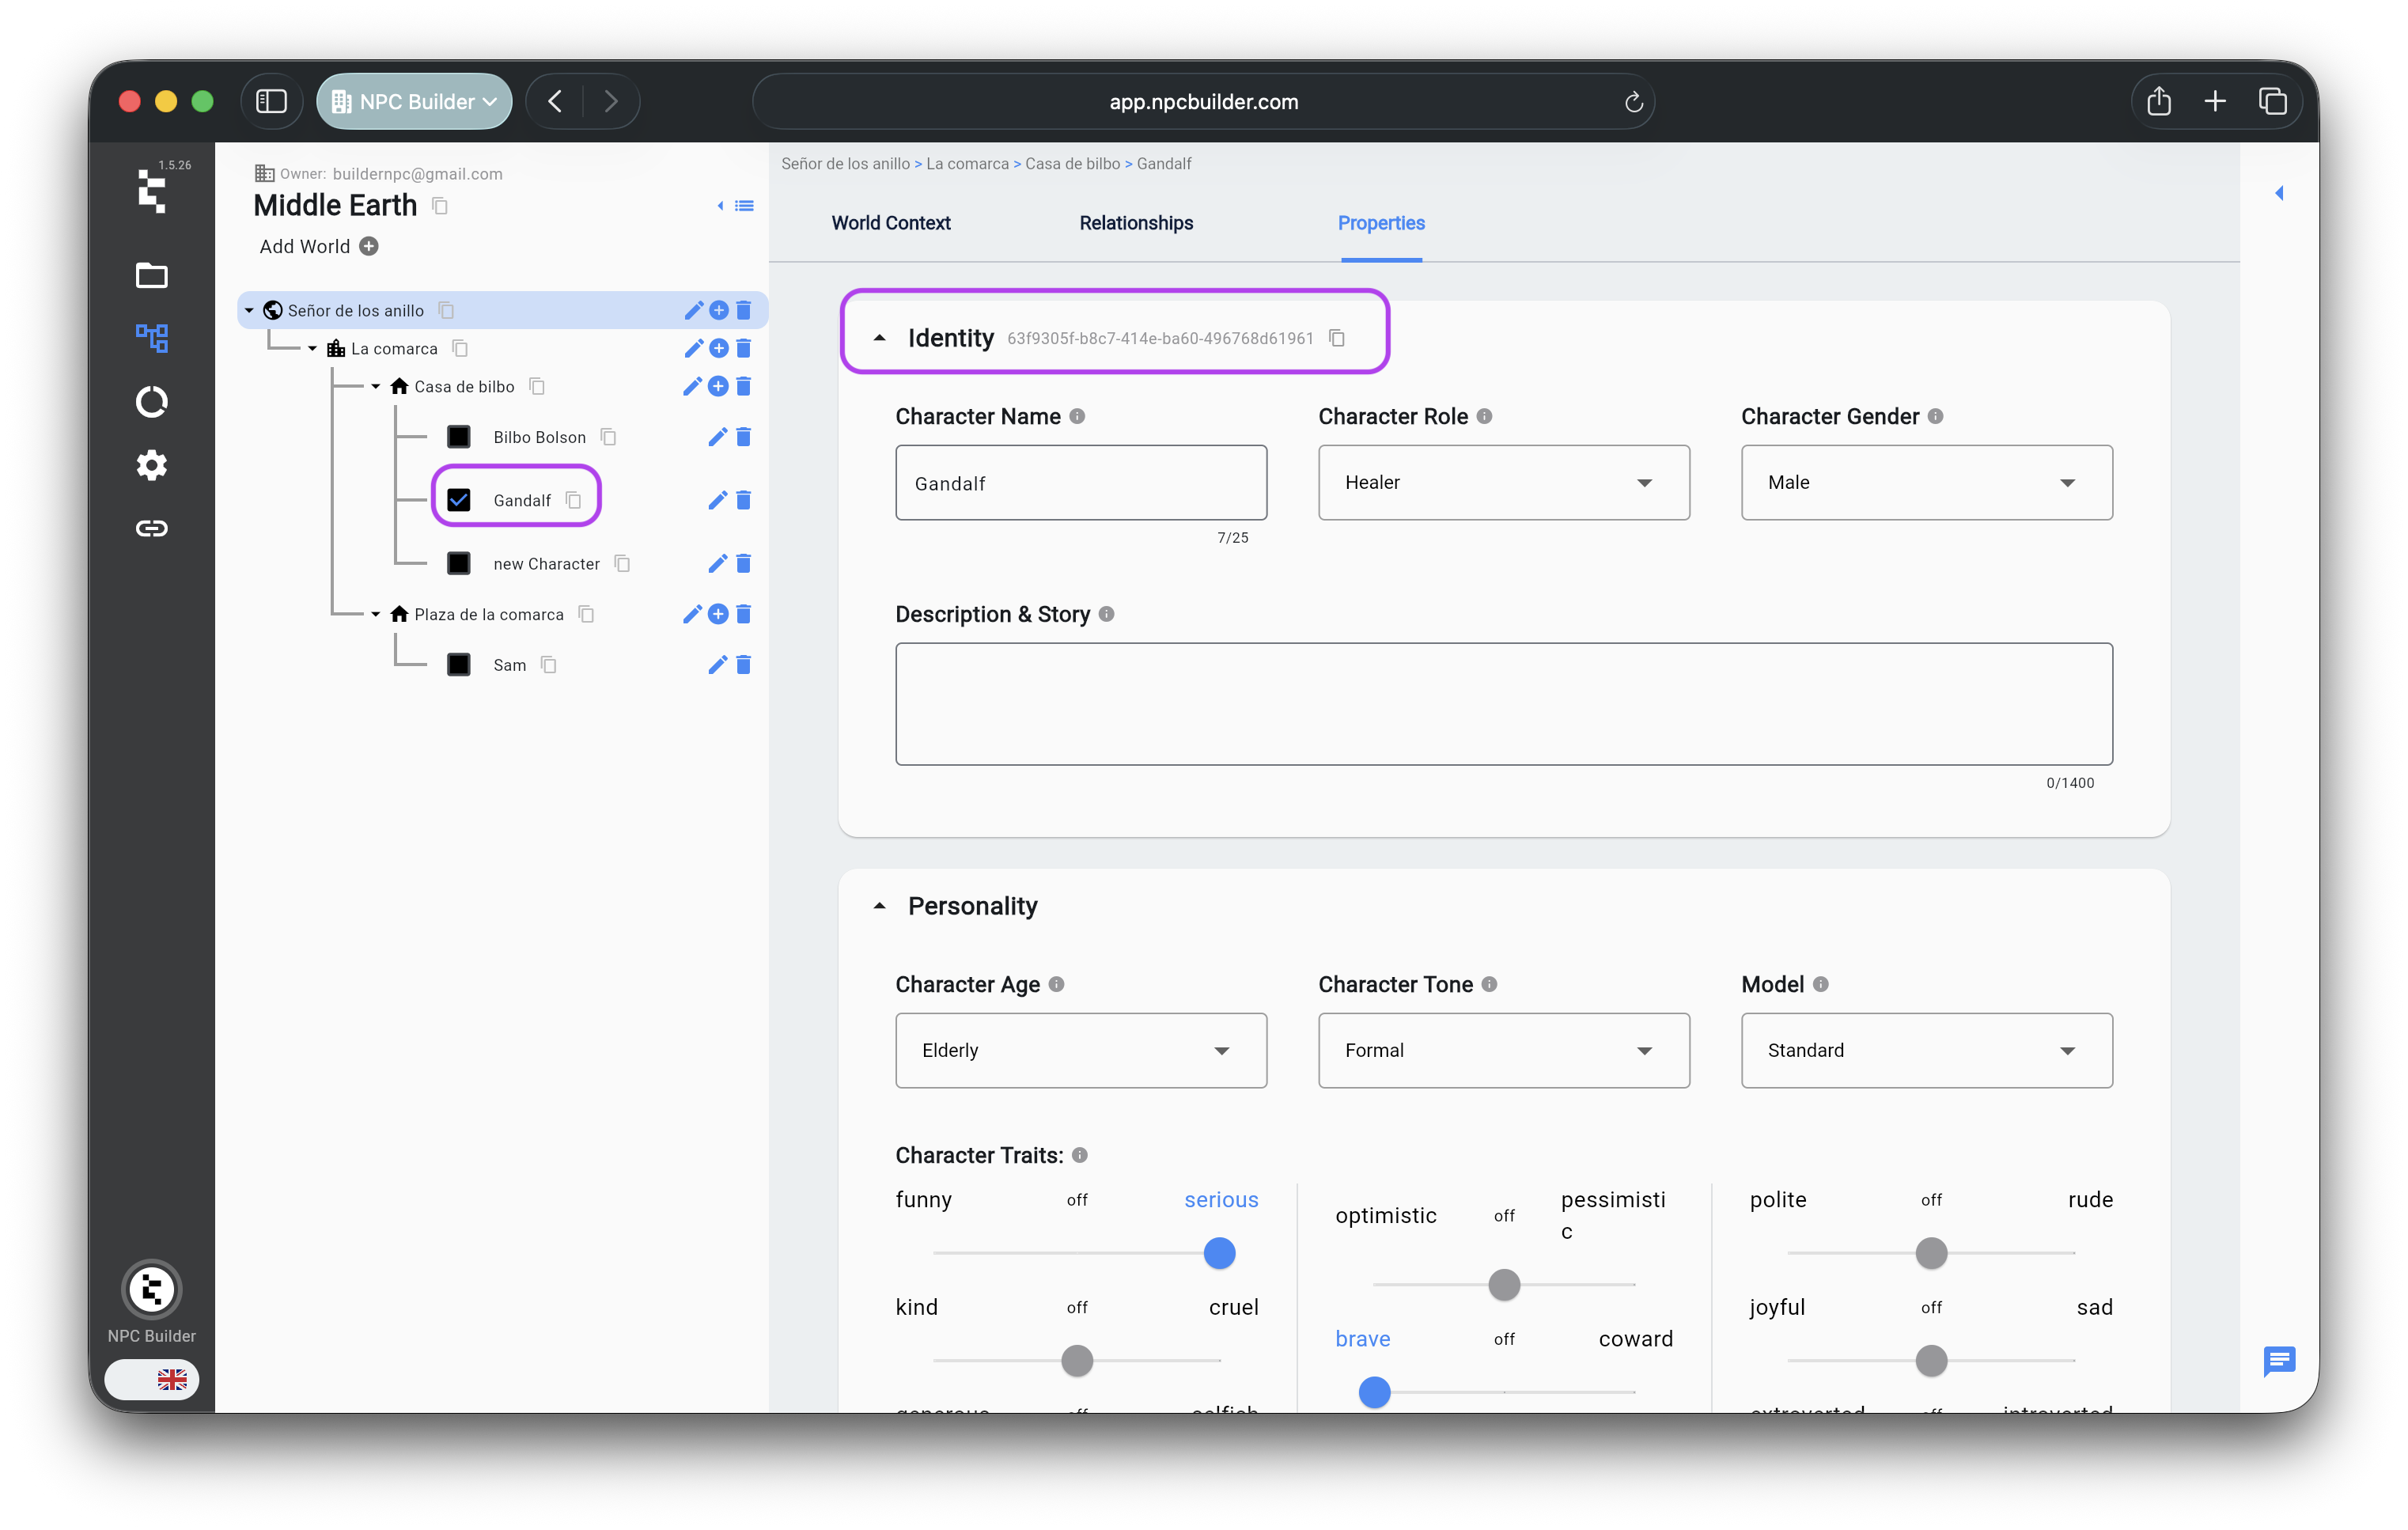
Save; note the
character_id5
Chat in dashboard
On the character page, open the Chattab and send a test message—confirm the NPC responds.
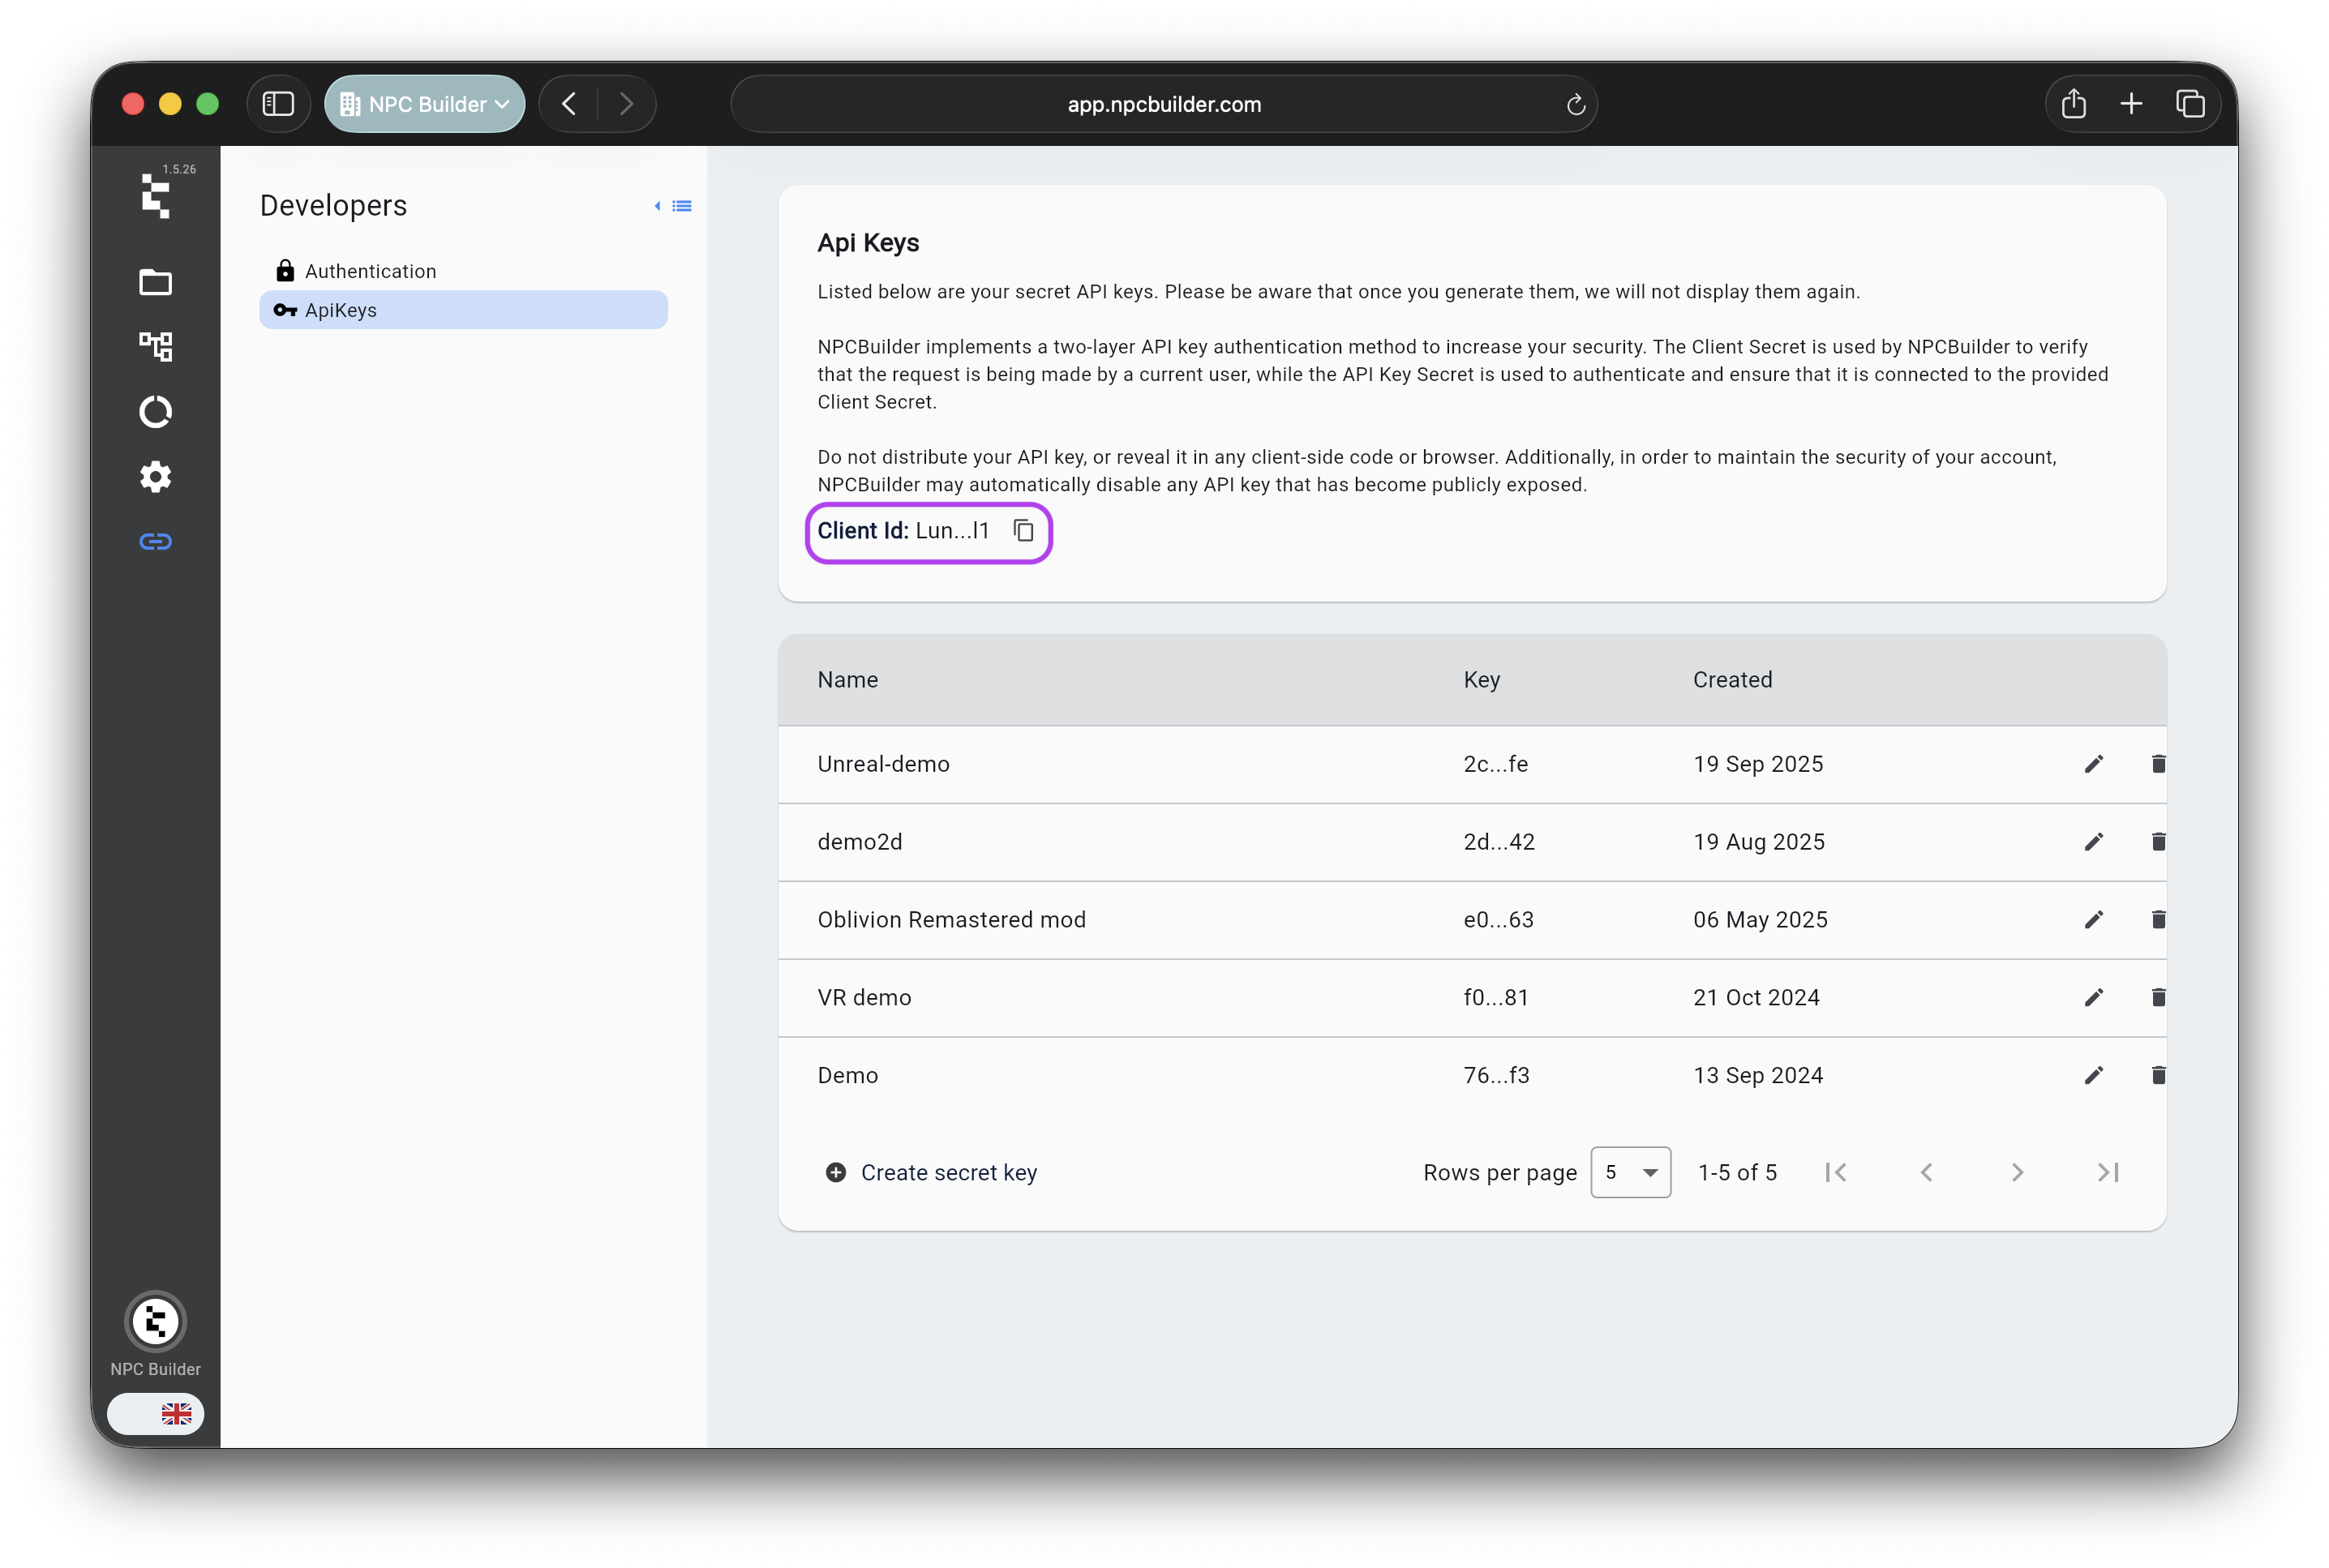
Generate credentials
1
Bearer token (quick)
Go to the developers section under graphics engine integration and generate Bearer Token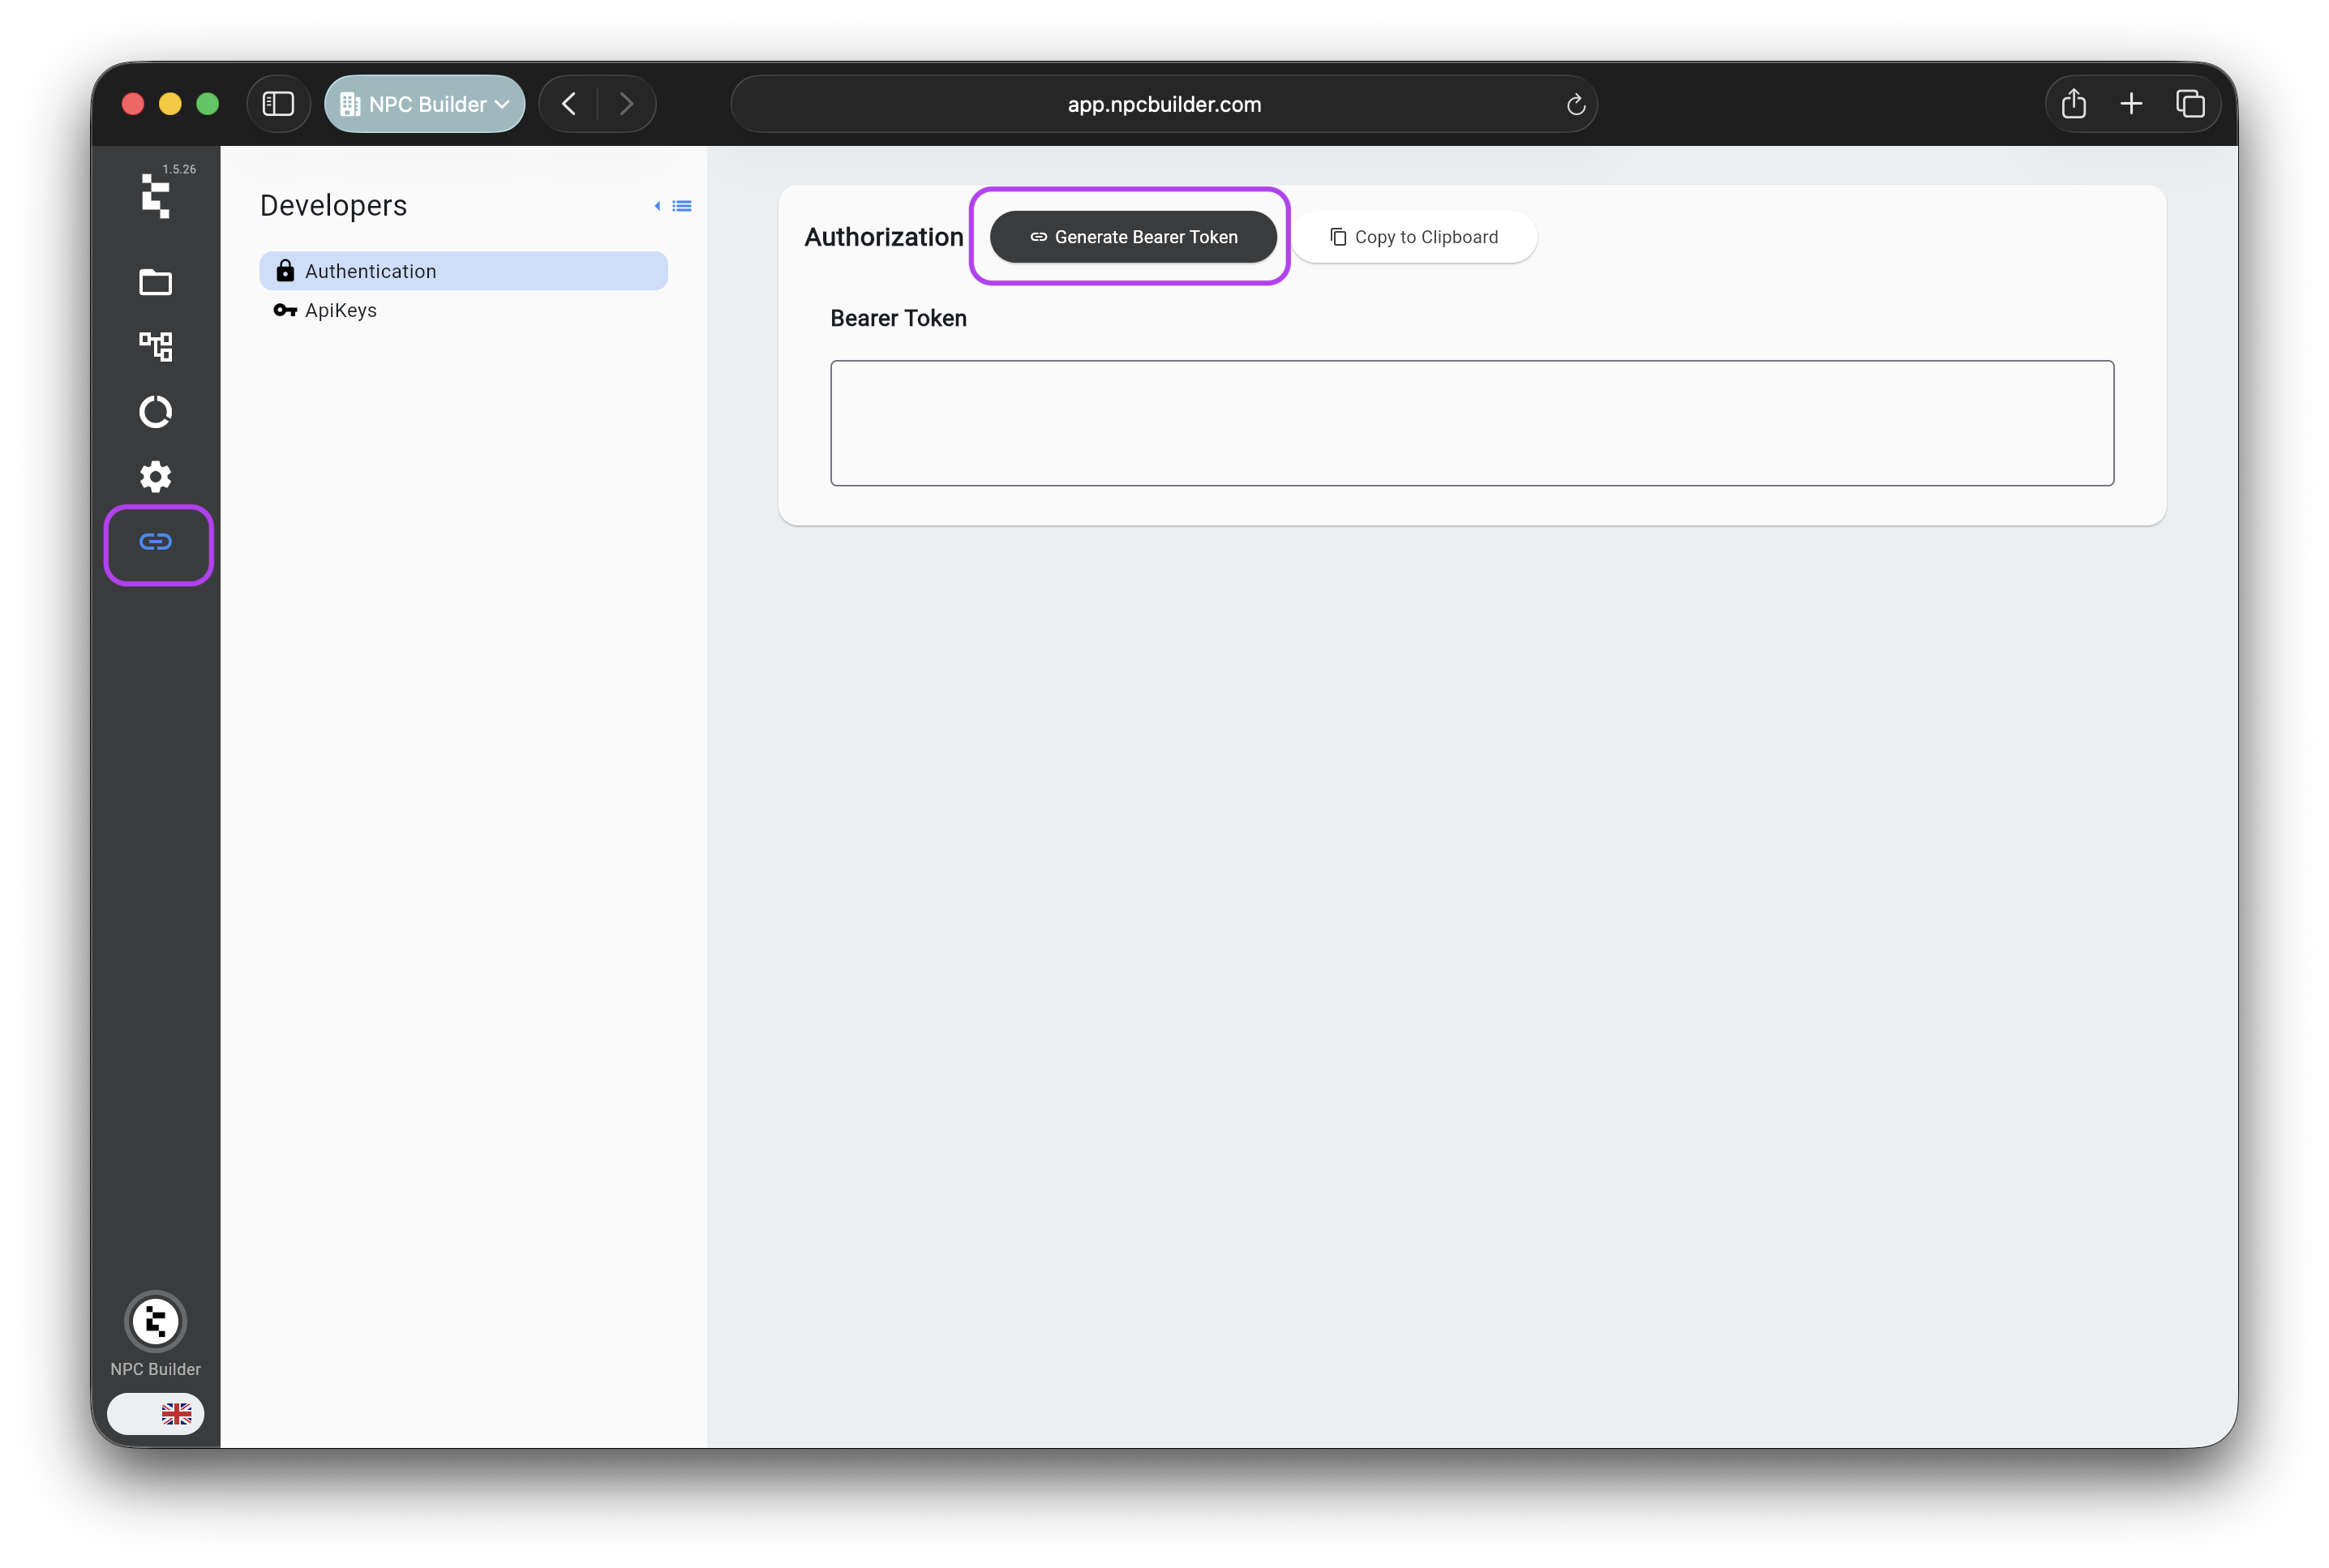
2
API keys (production)
Still in Developers, you can create an API Key.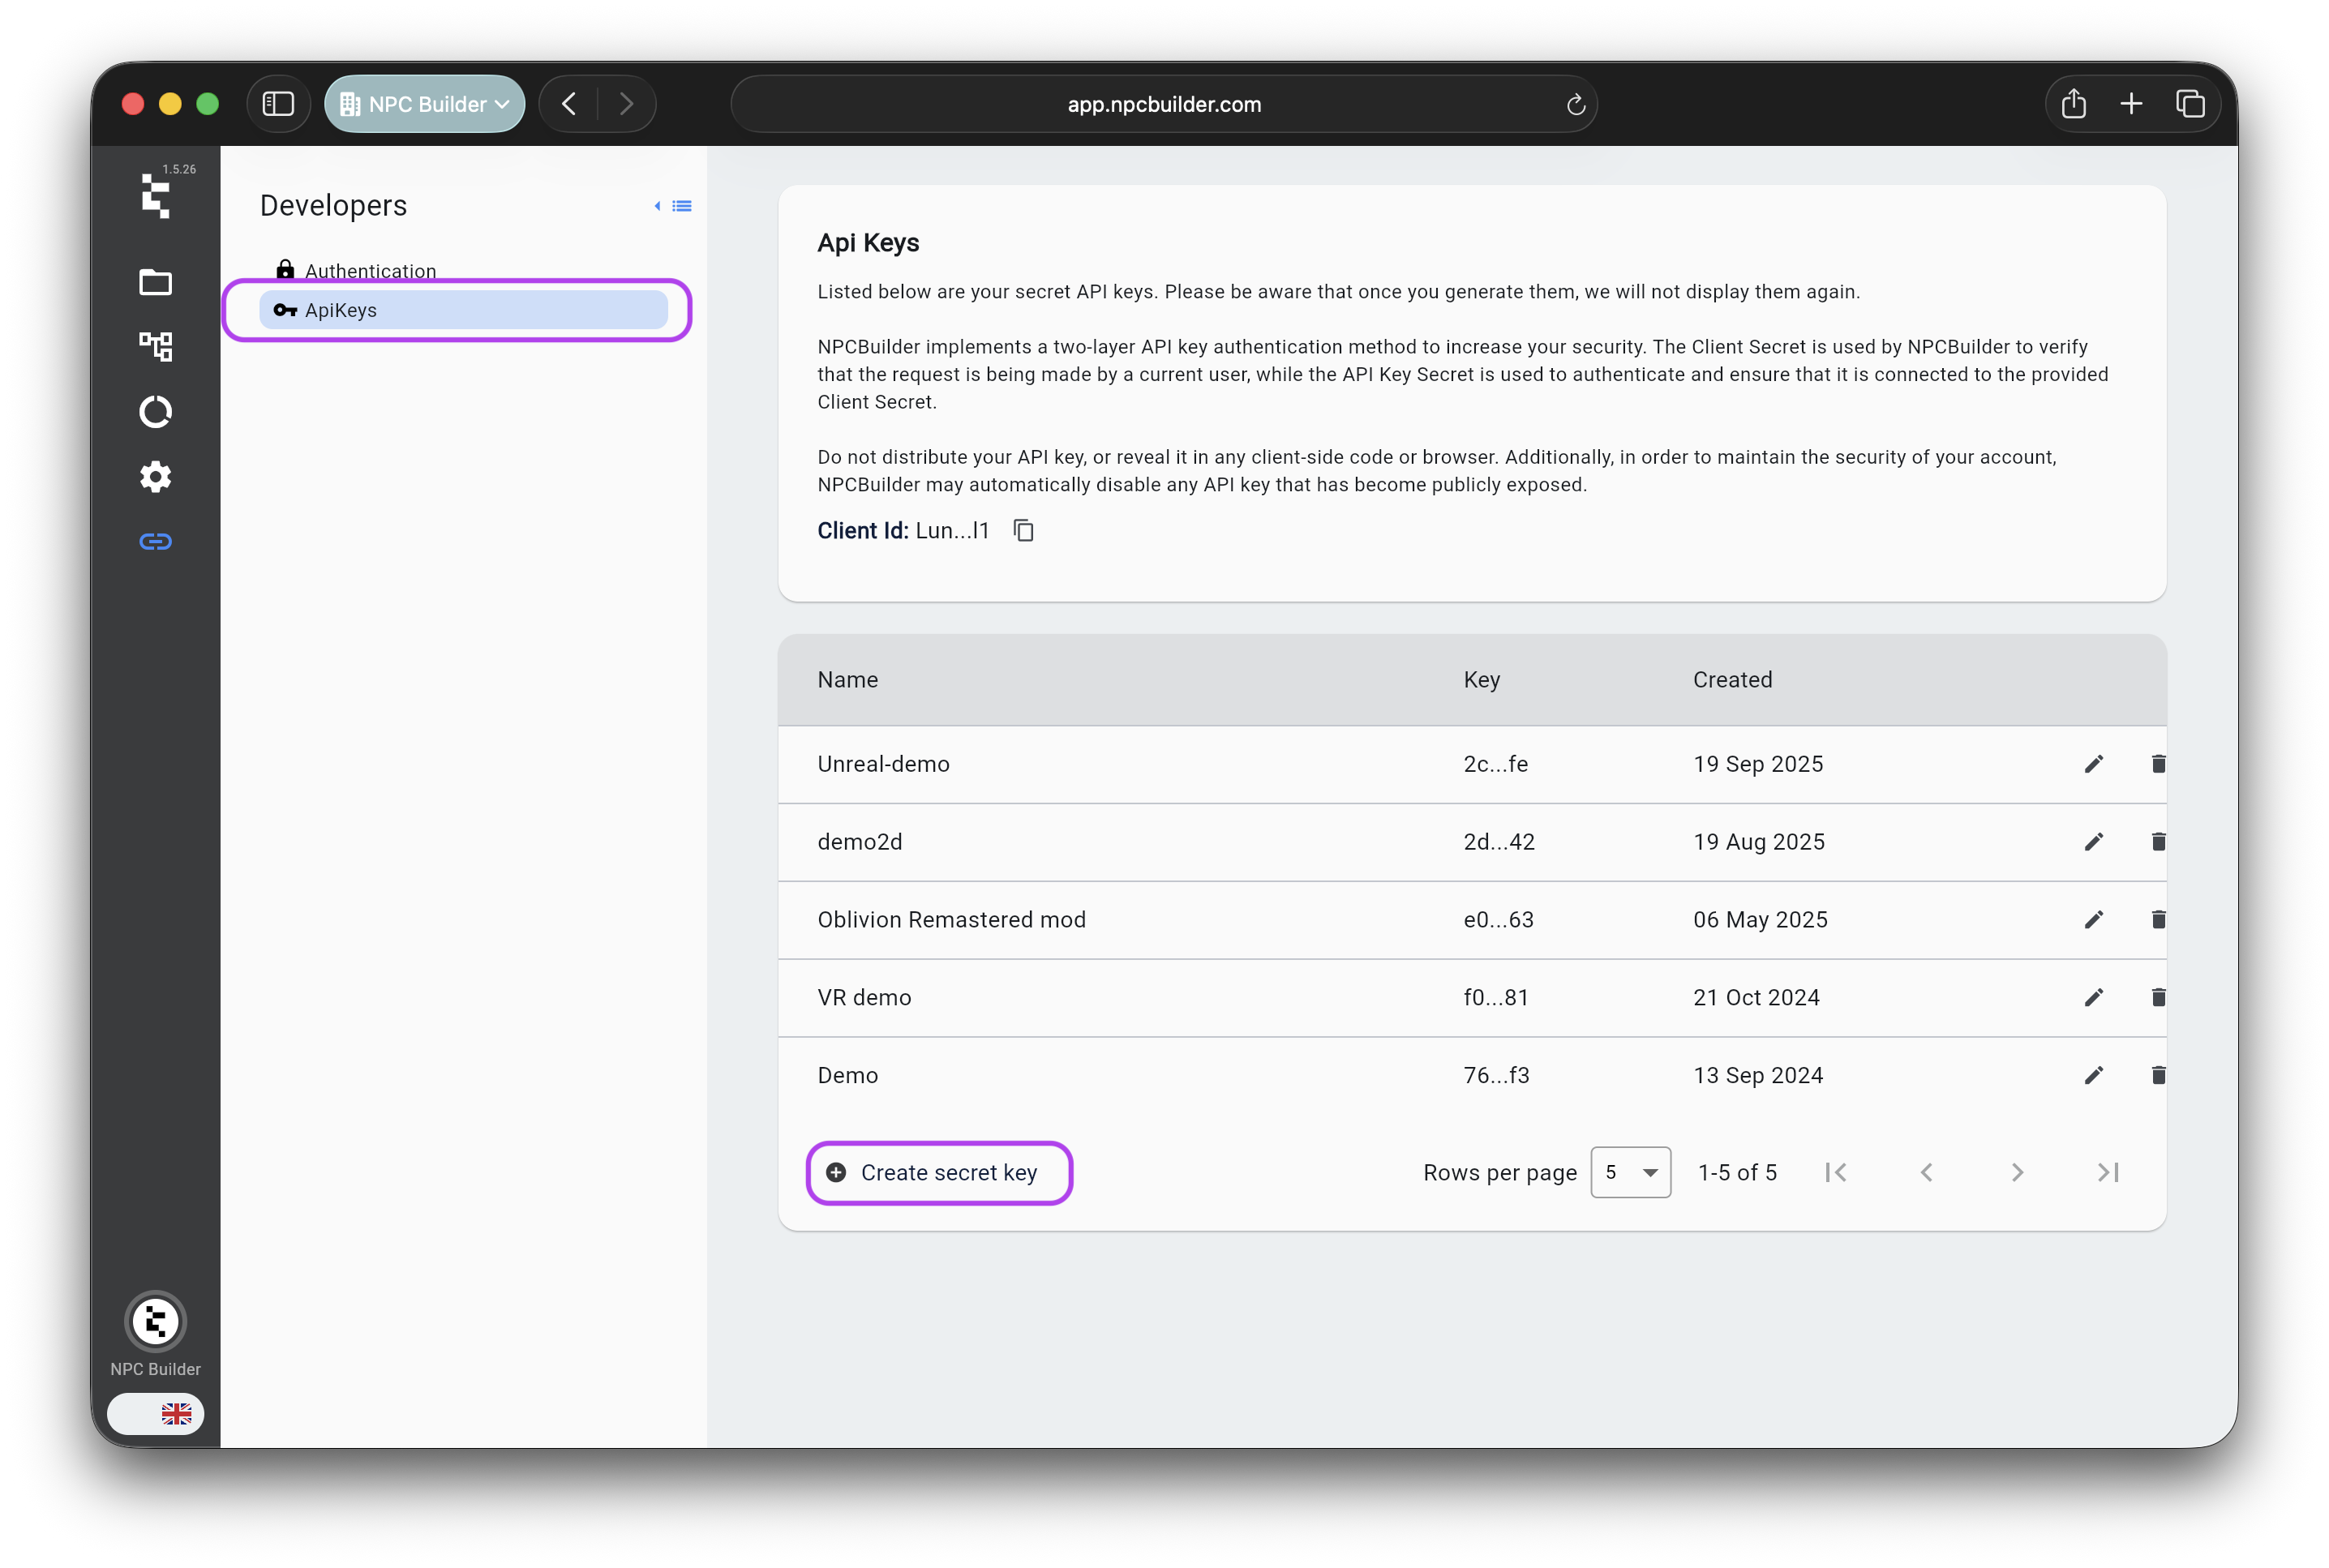
Call the Interactions API
Expected JSON
Include previous user + NPC messages in
messages[] on each call to keep context.