The NPC Builder Unity package lets you import a single
.unitypackage, configure API credentials, then script AI-powered NPC conversations with one component.Prerequisites
- Unity 2020.3 LTS or higher (2019.4 works but examples use the new Input System).
- NPC Builder account with an active plan and project.
- Client ID / Client Secret (or Bearer token) generated in Developers → API Keys.
- Basic familiarity with C# scripting in Unity.
1 · Installation
1
Download package
Get the NPC Builder
.unitypackage from the Asset Store (or company download link).2
Import into Unity
In the Unity Editor choose
Assets → Import Package → Custom Package and select the downloaded file.
Click Import when Unity shows the file list.
Assets → Import Package → Custom Package and select the downloaded file.
Click Import when Unity shows the file list.
2 · Configure credentials
A ready-madeconfig.json lives at Assets/NPCBuilder/config.json. Edit the placeholders:
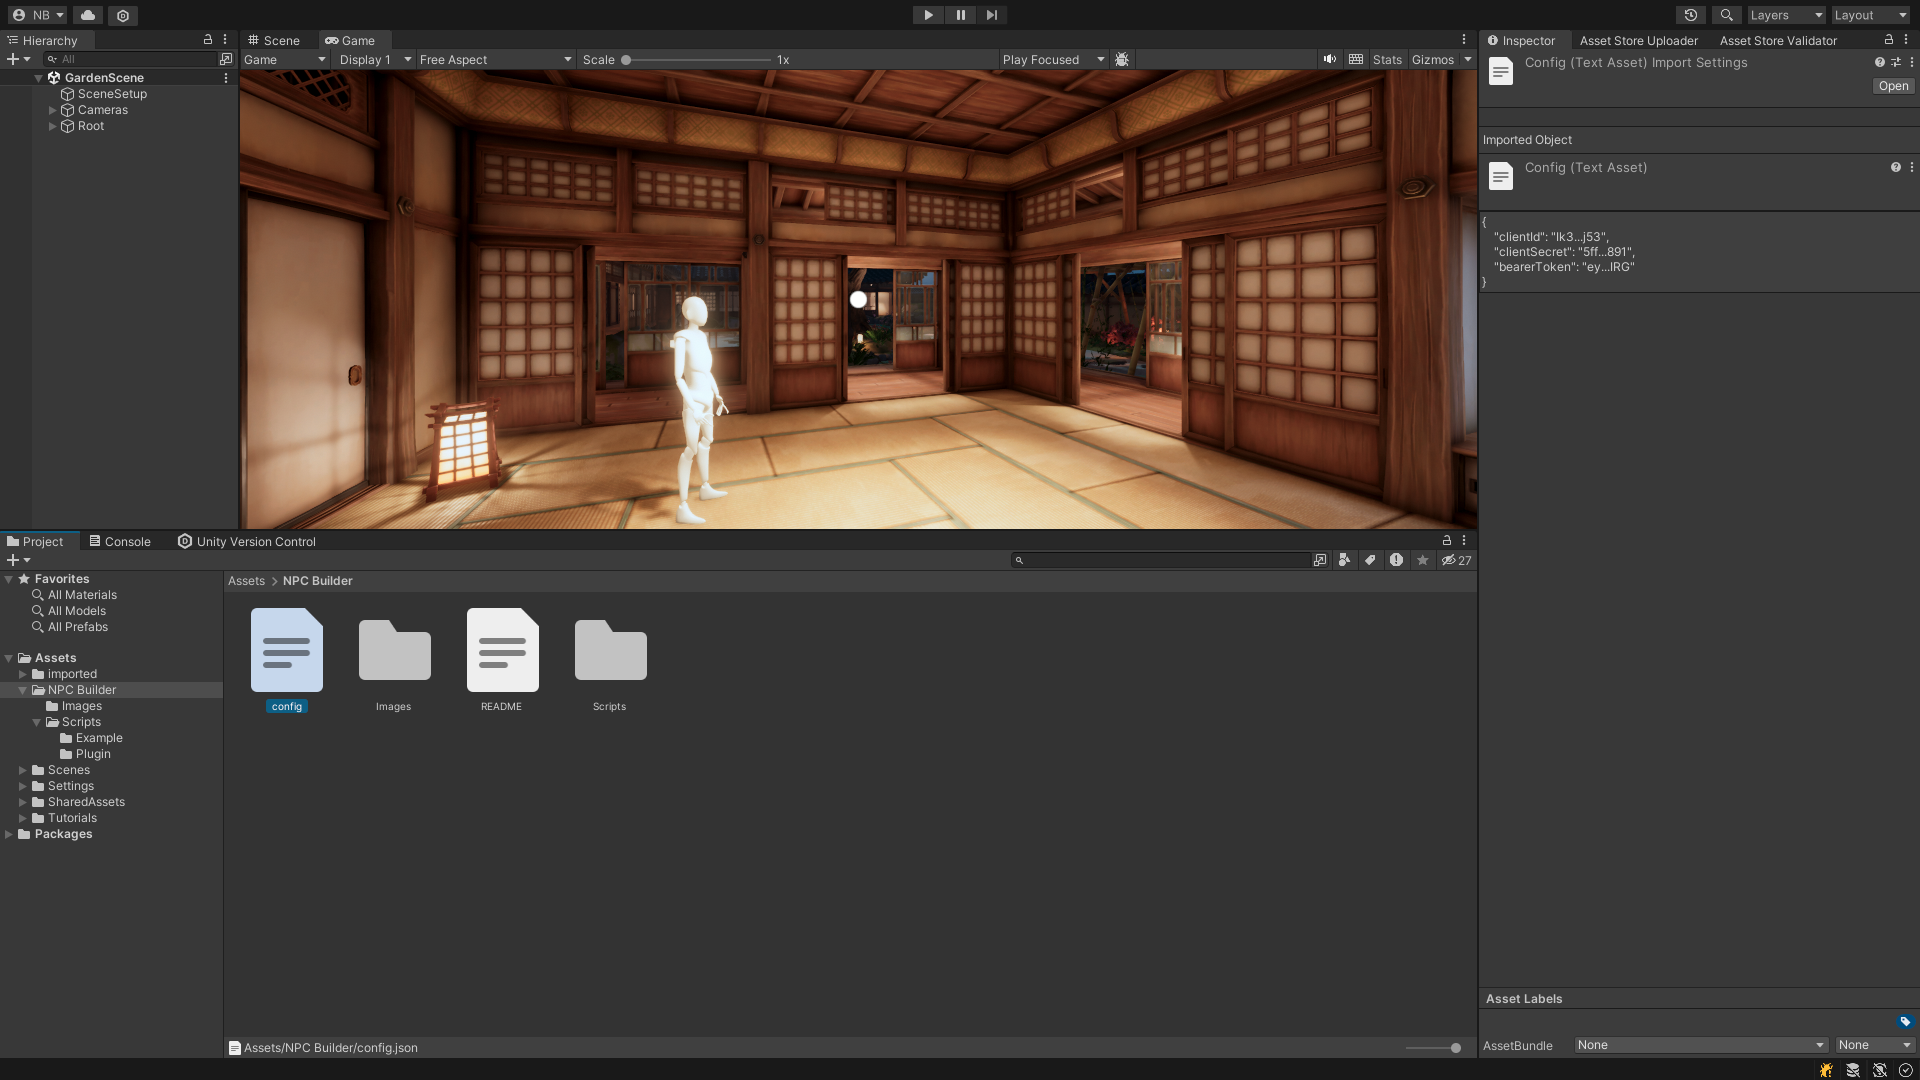
For credentials management refer to: authentication
- Client ID + Secret is the preferred long-term auth.
- Bearer token is an alternative for quick tests.
- If both are present the plugin prioritizes the secret.
Keep credentials out of public repos. Use Unity’s Secrets Manager or CI variables for production builds.
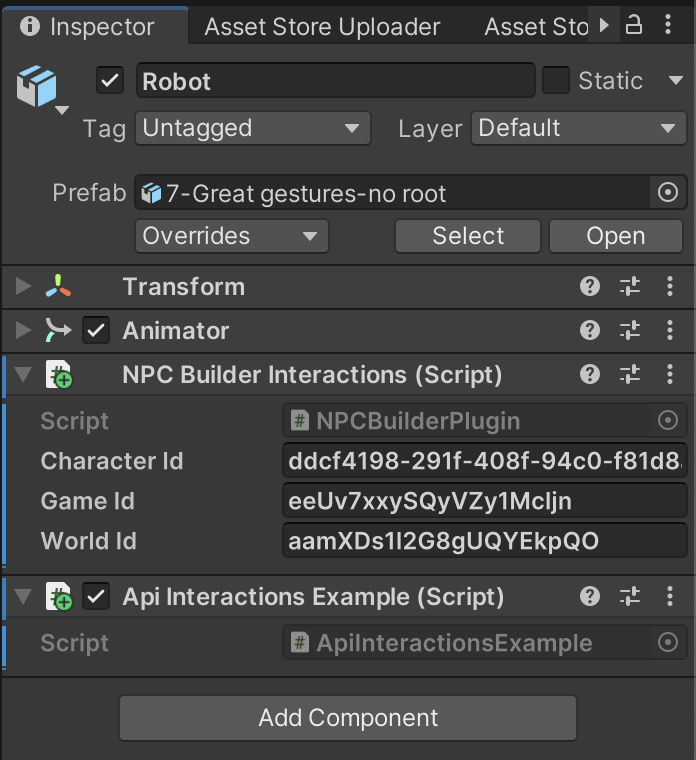
3 · Attach the component
Drag your NPC prefab into the scene and add NPCBuilderInteractions via the Inspector.Fill
Game ID, World ID, and character_id—all visible in the dashboard context tree.
4 · Minimal chat script
5 · Working with events & items
To understand with more details events & items explore Events and Items
character_events or user_events.Create Action or Item events in the dashboard (globally or per character), then reference them exactly in Unity:
Need more endpoints? Explore OpenAPI or see Context API for UID details.